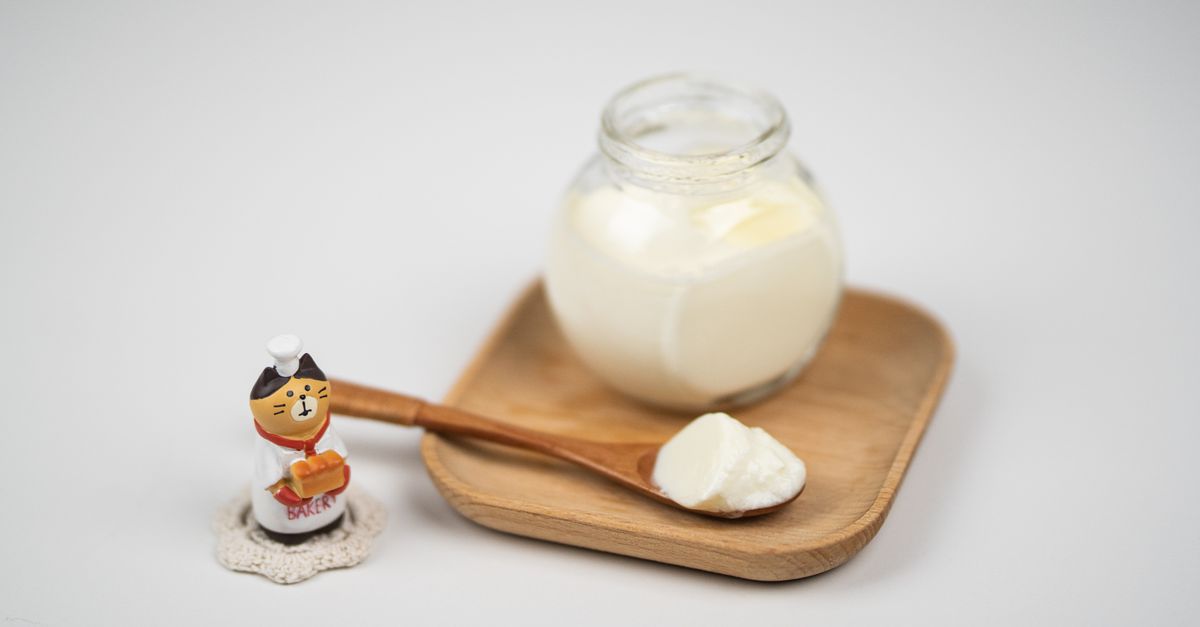
Why Your Homemade Yogurt Is Too Sour (And The Simple Shifts for Creamy, Mild Perfection Every Time)
Have you ever enthusiastically started a batch of homemade yogurt, dreaming of that creamy, tangy, yet subtly sweet texture, only to find yourself with a result so tart it makes your eyes water? I’ve been there. You follow a recipe, carefully measure your starter, incubate it, and then — BAM! — a sour, almost gritty disappointment that tastes more like a science experiment gone wrong than a wholesome breakfast. This isn’t just about personal preference; it’s a common hurdle that sends many aspiring home yogurt makers back to expensive store-bought tubs.
For years, my homemade yogurt was a gamble. Some batches were delightfully mild, perfect for blending with fruit or a drizzle of honey. Others were so aggressively sour, they ended up as ‘emergency’ labneh or, more often, down the drain. It wasn’t until I truly understood the nuanced interplay of bacteria, temperature, and time that I unlocked the secret to consistently creamy, mildly flavored yogurt. This isn’t about complex equipment or obscure ingredients; it’s about making a few critical, often overlooked, adjustments to your process. What changed everything for me wasn’t a new recipe, but a deeper understanding of the microbiology at play.
Key Takeaways
- Choose specific, milder starter cultures and always inoculate at a lower, precise temperature to prevent excessive lactic acid production.
- Reduce incubation time to between 6-8 hours and move the yogurt to the refrigerator promptly to halt fermentation before it becomes overly tart.
- Increase the milk fat content by using whole milk or adding milk powder for a creamier texture that naturally mellows tartness.
- Introduce natural sweeteners or flavorings after fermentation to balance any residual sourness without interfering with the culturing process.
The Overlooked Power of Your Starter Culture (And Why Generic Isn’t Good Enough)
When I first started making yogurt, I’d grab any ‘live active cultures’ yogurt from the grocery store as my starter. It seemed logical: if it has live cultures, it should work, right? Wrong. The type of bacterial strains in your starter profoundly dictates the final flavor profile and tartness. Most commercial yogurts, especially plain ones, are optimized for a robust, quick fermentation, which often means a more acidic result. For a milder yogurt, you need to be deliberate about your starter choice.
The mistake I see most often: using a commercial yogurt with strains like Lactobacillus bulgaricus and Streptococcus thermophilus as the sole starter, especially if that commercial yogurt is already quite tart. While these are foundational yogurt cultures, their rapid acid production can quickly lead to an overpoweringly sour batch if not carefully managed. Some commercial yogurts also include Lactobacillus acidophilus or Bifidobacterium lactis, which are great for gut health but can contribute to increased tartness.
What actually works: Seek out specific, milder strains or a blend designed for a less acidic flavor. Look for starters that explicitly state they produce a mild or sweet yogurt. Some good options to consider are certain heirloom cultures that ferment at lower temperatures or specific Lactobacillus casei or Lactobacillus reuteri strains, known for their milder profiles. If you must use a commercial yogurt, choose one that you find noticeably less tart to begin with. In my experience, even a slight shift in starter can make a dramatic difference. I started buying small containers of the mildest organic whole milk yogurt I could find, specifically checking the culture list for variety, and my results improved almost immediately. Another pro tip: if you plan to make yogurt regularly, invest in a freeze-dried heirloom starter. These are designed for consistent, mild results and can be recultured indefinitely, offering far more control than store-bought yogurt.
Temperature Control: The Unsung Hero of Mildness
Think of yogurt cultures as tiny chefs in your kitchen. They work best within a specific temperature range, and deviating from that range, even slightly, can drastically alter the outcome. High temperatures accelerate their activity, leading to faster acid production and, you guessed it, a more sour yogurt. I used to think ‘warmer is faster,’ and while that’s true, it’s a trade-off that often sacrifices flavor.
The mistake I see most often: Incubation temperatures that are too high or inconsistent. Many recipes suggest temperatures between 105-115°F (40-46°C). While this range works, staying on the lower end, around 100-105°F (38-40°C), gives the bacteria a gentler environment, slowing down lactic acid production and resulting in a milder flavor. Furthermore, using an oven with just the pilot light or a warm spot without precise temperature control often leads to temperature fluctuations that stress the cultures and result in unpredictable tartness or even a failed set.
What actually works: Precise, consistent, and slightly lower incubation temperatures. For consistently mild yogurt, I aim for a steady 100-103°F (38-39°C). An electric yogurt maker with a digital display for temperature control is a game-changer here. If you don’t have one, a sous vide machine can perfectly maintain the water bath temperature for jars of yogurt. Alternatively, a warm oven with the light on can work, but you need an oven thermometer inside to monitor it constantly and adjust by cracking the door if it gets too hot. Once, I invested in a simple, inexpensive yogurt maker, and the consistency of my mild batches soared. No more guessing games, no more extreme tartness because the temperature drifted too high during an unsupervised night.
Timing Is Everything: Don’t Let It Over-Ferment
Just as temperature influences the speed of fermentation, the duration directly impacts the amount of lactic acid produced. The longer your yogurt ferments, the more acidic it becomes. While some prefer a very tangy yogurt, for mildness, you need to be proactive about stopping the process at the right moment.
The mistake I see most often: Letting yogurt ferment for too long, especially overnight. Many recipes casually suggest 8-12 hours, or even ‘until set.’ While this might be fine for robust, tangy yogurt, for a mild flavor, 8 hours is often the absolute maximum, and sometimes even less is needed. If you leave it to ferment for 10-12 hours, or even longer, that sourness will inevitably intensify.
What actually works: Monitor closely and chill promptly. Start checking your yogurt for firmness around the 6-hour mark. Gently tilt the container; if it sets as a soft, custardy mass without liquid separating too much, it’s likely ready. For a truly mild yogurt, 6-8 hours is often the sweet spot. As soon as it reaches the desired consistency, immediately transfer the yogurt to the refrigerator. Chilling it rapidly halts the fermentation process, locking in that milder flavor. Delaying refrigeration even for an hour can significantly increase tartness. I learned this the hard way after a few too many early morning discoveries of aggressively sour yogurt that had over-fermented in the lingering warmth. Now, my alarm is set to check the yogurt, and it goes straight into the fridge.
Fat Content and Add-ins: The Creamy Mellowing Effect
The composition of your milk plays a significant role in the perceived tartness and overall mouthfeel of your homemade yogurt. Skim milk yogurt, while lower in fat, often feels thinner and can taste much more acidic because there’s less fat to coat the palate and mellow the sharp edges of the lactic acid. A richer, thicker yogurt inherently feels and tastes milder, even with similar acidity levels.
The mistake I see most often: Using low-fat or skim milk, or failing to enhance the milk’s solids content. While certainly a healthier choice for some, using skim milk makes it much harder to achieve a creamy texture and will often result in a thin, watery, and distinctly more sour yogurt. The lack of fat means the tartness hits your tongue more directly without the creamy buffer.
What actually works: Opt for higher fat milk and consider milk powder. Whole milk is my go-to for a naturally creamier and milder yogurt. The fat helps mask some of the acidity, resulting in a smoother, less aggressive flavor. For an even thicker, more luxurious, and less tart yogurt, stir in 1/4 to 1/2 cup of dry milk powder per half gallon of milk before heating it. The extra milk solids create a firmer set and a richer taste that further mutes the sourness. Evaporated milk or even a touch of heavy cream can also achieve a similar effect for truly indulgent results. My batches made with whole milk and a couple of spoonfuls of milk powder are consistently thicker, creamier, and have a beautiful, balanced tang that is never overwhelming.
The After-Fermentation Flavor Balance
Sometimes, even with careful control, your yogurt might still have a touch more tang than you’d prefer. This is where post-fermentation adjustments come into play. What you add, and when you add it, can completely transform the experience of your yogurt.
The mistake I see most often: Adding fruit or sugar before or during fermentation. Fruit contains natural sugars, and adding them during incubation provides additional food for the bacteria, accelerating fermentation and increasing tartness. Similarly, adding sugar during the culturing process will be consumed by the bacteria, making the yogurt even more acidic and less sweet than intended.
What actually works: Sweeten and flavor after chilling. The best way to manage perceived tartness is to add your preferred sweeteners and flavorings after the yogurt has fully chilled and fermentation has stopped. A tablespoon of honey, maple syrup, or a natural sugar can instantly balance any residual sourness. Vanilla extract, cinnamon, or fresh fruit purees (like mashed berries or banana) are fantastic additions that complement the yogurt’s natural tang without exacerbating it. I always keep my plain yogurt in the fridge and only sweeten individual portions just before eating. This way, I can customize the sweetness level for each serving and ensure the fermentation process is truly complete.
Frequently Asked Questions
Can I use store-bought Greek yogurt as a starter for mild yogurt?
Yes, but choose wisely. Many Greek yogurts are specifically cultured for a thicker, tangier profile. Look for a brand that you personally find to be on the milder side and check the ingredient list for ‘live active cultures.’ Use it fresh and ensure it hasn’t been open for too long, as the cultures can weaken over time.
What if my homemade yogurt is still too thin, even with whole milk?
If it’s too thin and also too sour, you might be incubating at too low a temperature for too short a time, or your starter might be weak. If it’s thin but still tastes mild, try adding 1/4 to 1/2 cup of dry milk powder per half gallon of milk before heating to increase milk solids, which helps create a firmer set. You can also strain the finished yogurt through cheesecloth for a thicker, Greek-style consistency, though this will concentrate the flavor and may make it seem a bit tangier.
My yogurt separates into curds and whey. What went wrong?
This usually indicates over-fermentation due to too high a temperature, too long an incubation, or too much starter. The bacteria produced too much acid, causing the milk proteins to curdle and separate. While you can strain it to make a ricotta-like cheese, for yogurt, next time reduce incubation time, lower the temperature slightly, or use less starter.
How long will homemade mild yogurt last in the refrigerator?
Properly made and stored, homemade yogurt typically lasts 7-10 days in an airtight container in the refrigerator. Its freshness and quality will gradually decline after this period, and it may become tangier over time due to slow, continued bacterial activity even at cold temperatures.
Can I make mild yogurt without a special yogurt maker?
Absolutely! While a yogurt maker offers convenience and precision, you can achieve great results using an insulated cooler, an Instant Pot (on the yogurt setting), a warm oven with the light on (monitored with a thermometer), or even a slow cooker on its lowest setting. The key is maintaining a consistent temperature around 100-103°F (38-39°C) for the incubation period.
Conclusion
Making consistently mild, creamy homemade yogurt isn’t about luck; it’s about understanding and controlling a few key variables. By being deliberate with your starter culture, maintaining precise, slightly lower incubation temperatures, chilling your yogurt promptly, and leveraging higher milk fat content, you can transform your yogurt-making experience from a sour gamble into a reliable delight. My journey from consistently puckering at my homemade batches to genuinely enjoying them came down to these simple, yet powerful, adjustments. Start with a quality, milder starter, watch your temperatures closely, and embrace that quick chill. Your taste buds (and your breakfast routine) will thank you for it.
Written by Evelyn Reed
Mindfulness & Personal Well-being
A former editor for a prominent lifestyle magazine, Evelyn brings a keen eye for compelling narratives and practical advice to our team.
You Might Also Like

A Beginner's Guide to Adjusting Home Network DNS Settings
Unlock faster, more secure internet at home by learning to adjust your DNS settings. This guide simplifies the process for beginners.

Seven Years Without a Clothes Dryer: My Unexpected Revelations on Laundry and Lifestyle
After seven years without a clothes dryer, I share my unexpected lessons on energy savings, garment longevity, and simplifying laundry day.

Six Months Without a Microwave: My Unexpected Kitchen Shift
Discover my journey without a microwave and how it unexpectedly transformed my cooking habits, food quality, and kitchen efficiency.