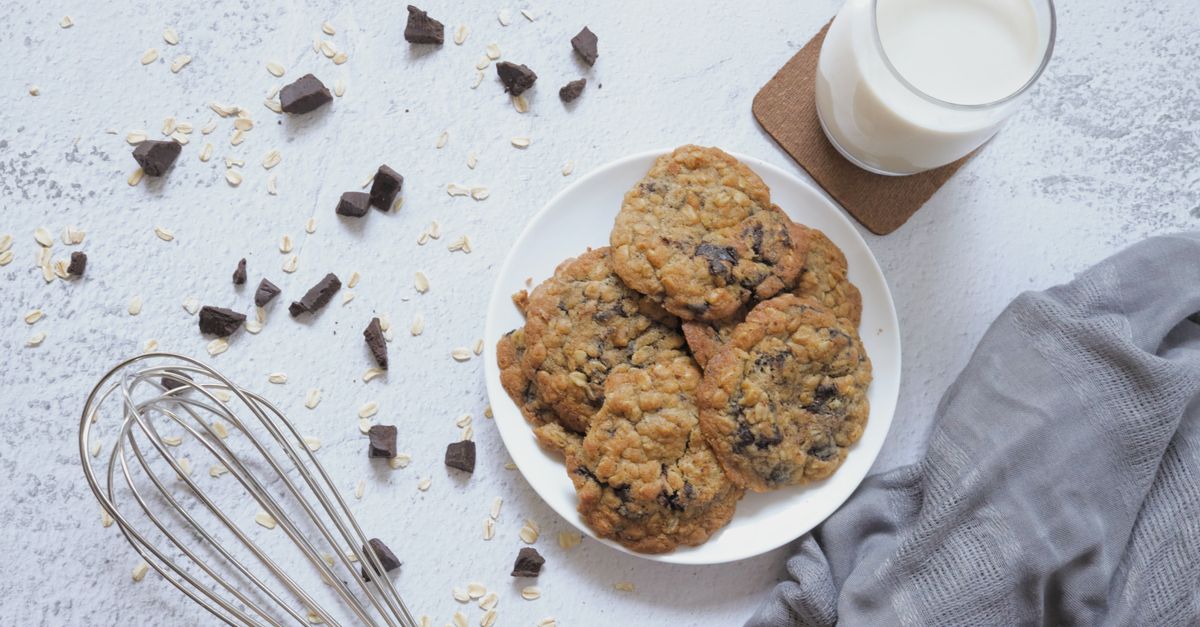
Why Your Homemade Cookies Are Flat (And The Simple Fixes That Guarantee Perfect, Puffy Results Every Time)
Every baker, myself included, has faced the heartbreaking sight of a freshly pulled tray of cookies that look more like thin, greasy discs than the plump, chewy delights pictured in the recipe. You follow the instructions to the letter: precise measurements, proper oven temperature, and yet, the cookies spread into oblivion, losing all their charm and texture. It’s a frustrating experience that can make you doubt your baking skills, but I’ve learned that it’s rarely about a lack of talent. More often, it’s about a few incredibly common, yet overlooked, culprits that sabotage your cookies before they even hit the oven. I used to struggle with this constantly, churning out batches of flat, crispy-edged disappointments. What changed everything for me wasn’t a secret ingredient or a fancy new technique, but a deeper understanding of the science behind cookie spread and a few simple, strategic adjustments.
Key Takeaways
- Ensure butter and eggs are at the correct, cool room temperature to maintain dough structure.
- Chill your cookie dough for at least 30 minutes to firm up fats and prevent premature spread.
- Use a high-quality baking sheet and parchment paper to promote even baking and prevent sticking.
- Over-creaming butter and sugar incorporates too much air, leading to collapse; cream just until combined.
The Butter Temperature Trap: Too Soft, Too Soon
One of the most insidious culprits behind flat cookies is butter temperature. Nearly every cookie recipe calls for ‘room temperature butter,’ but this phrase is often misinterpreted. Most people, myself included for years, assume this means butter that’s practically melting, easily squashed with a finger. The truth is, ‘room temperature’ butter for baking should still be cool to the touch, easily indented but not greasy. Think 65-68°F (18-20°C). When butter is too warm, its emulsifying properties are compromised, and it can’t properly trap air when creamed with sugar. This initial structural weakness means the fat melts too quickly in the oven, releasing its hold on the other ingredients and causing the cookies to spread out rather than hold their shape. The mistake I see most often is letting butter sit out on the counter for hours, especially in warmer kitchens. What changed everything for me was learning to cut my butter into tablespoon-sized pieces and letting it sit for just 30-45 minutes. If it’s soft enough to leave a slight indentation with gentle pressure but still holds its shape, it’s perfect. If it’s oily or smushes easily, it’s too warm. You’re better off with slightly cooler butter than slightly warmer; cooler butter can always be worked more, but there’s no going back from melted butter.
The Over-Creaming Catastrophe: Too Much Air, Too Fast
Another common instruction is to ‘cream butter and sugar until light and fluffy.’ While essential for certain baked goods, over-creaming for cookies can be a one-way ticket to flatness. When you cream butter and sugar, you’re incorporating tiny pockets of air into the mixture. This air acts as a leavening agent, contributing to the cookie’s rise and tender texture. However, if you over-cream, you incorporate too much air, creating an unstable structure. This excessive air causes the dough to collapse more rapidly in the heat of the oven. Imagine building a house with too many air bubbles in the foundation—it’s destined to sag. I used to think more creaming meant more fluffy cookies, but my cookies would always fall flat in the oven. The sweet spot, I’ve found, is to cream them just until they’re light in color and the mixture looks well combined, usually about 2-3 minutes with an electric mixer on medium speed. The volume will increase slightly, but it shouldn’t look like whipped cream. Stop as soon as the mixture is homogenous and slightly pale. This leaves enough structure for the cookie to hold its shape as it bakes, allowing the other leavening agents to do their work effectively.
The Dough Temperature Downfall: Skipping the Chill Step
I can’t stress this enough: chilling your cookie dough is non-negotiable for perfectly puffy cookies. This might sound like a minor detail, but it’s a critical step that many home bakers skip due to impatience. When you chill cookie dough, several key things happen. First, the butter solidifies. This means it takes longer to melt in the oven, giving the other ingredients (like flour and egg proteins) more time to set and create structure before the cookie spreads too much. Second, the flour absorbs moisture from the wet ingredients, leading to a more developed flavor and a chewier texture. In my early baking days, I’d often roll my dough straight from the mixer to the baking sheet, eager to taste the results. Unsurprisingly, those batches were consistently flat. The moment I started chilling my dough for at least 30 minutes, or even an hour, my cookies transformed. They were thicker, chewier, and held their shape beautifully. For exceptionally warm kitchens or particularly sticky doughs, I’ve even chilled for up to 24 hours, yielding even better results. If you’re short on time, you can even flash-chill scooped dough balls in the freezer for 10-15 minutes before baking.
The Ingredient Imbalance: Too Much Wet, Not Enough Dry
Baking is a science, and even slight deviations in ingredient ratios can throw everything off, particularly the balance between wet and dry ingredients. If your dough has too much liquid (excessive butter, too many eggs, or even too much vanilla extract), or not enough dry ingredients (flour, cocoa powder, leavening agents), it will naturally spread more readily in the oven. This is especially true for recipes that call for brown sugar, which contains molasses and adds moisture. In my experience, even minor adjustments can make a significant difference. For example, if I’m using very large eggs instead of standard large eggs, I might slightly increase the flour (by about 1-2 tablespoons per large egg) to compensate for the extra liquid. Similarly, using a kitchen scale for flour is far more accurate than measuring cups, as flour can compact differently. A gram-accurate scale, which costs less than $20, changed my baking dramatically. It eliminates the guesswork and ensures consistency. If your cookies are consistently flat, re-evaluate your measurements, especially for flour, and consider if you’ve added any ‘extra’ wet ingredients for flavor.
The Baking Sheet Betrayal: Hot Pans and Greased Surfaces
Believe it or not, your choice of baking sheet and how you prepare it can significantly impact cookie spread. Baking on a hot baking sheet (from a previous batch, or simply left out) causes the cookie dough to start melting immediately upon contact, leading to rapid, uneven spread. Always ensure your baking sheets are cool before placing dough on them. The mistake I made for years was greedily trying to get multiple batches in and out of the oven too quickly, using warm or even hot baking sheets. This always resulted in the second and third batches being significantly flatter. My solution? Invest in at least two, preferably three, good quality light-colored baking sheets so you always have a cool one ready. Even more importantly, never grease your cookie sheets for standard drop cookies. Greasing provides a slick surface that encourages the dough to spread. Instead, line your baking sheets with parchment paper or a silicone baking mat. These provide a non-stick surface without promoting excessive spread, ensuring your cookies hold their shape better and bake evenly. This simple switch alone can make a dramatic difference in how your cookies hold up.
Frequently Asked Questions
Q: My recipe calls for baking soda and baking powder. Do I really need both?
A: Yes, absolutely. Baking soda (sodium bicarbonate) reacts with an acid (like brown sugar, buttermilk, or lemon juice) to produce carbon dioxide, which creates rise and tenderness. Baking powder is a combination of baking soda, an acid, and cornstarch, and it provides leavening without needing an additional acidic ingredient. Many recipes use both to achieve a specific texture and lift. Omitting one or using the wrong ratio can drastically change the cookie’s structure and lead to flatness.
Q: Can using the wrong type of flour cause flat cookies?
A: Yes, it can. All-purpose flour is typically what most cookie recipes are developed for. Using a lower protein flour like cake flour can lead to more spread because it has less gluten to provide structure. Conversely, a higher protein flour like bread flour might make your cookies too dense. Always stick to the type of flour specified in the recipe. If you’re experimenting, make small adjustments and note the results.
Q: My cookies are flat but also crunchy. What’s happening?
A: Flat and crunchy cookies often indicate too much fat (butter) or sugar, or too little flour. Excess fat melts and spreads rapidly, while excess sugar can thin the dough and promote crispness through caramelization. It can also be a sign of over-baking. Ensure your measurements are precise, especially for butter and sugar, and check your oven temperature for accuracy.
Q: Does my oven temperature affect cookie flatness?
A: Absolutely. An oven that is too low in temperature will cause the butter to melt slowly, giving the cookies more time to spread before they set. An oven that’s too high might set the edges too quickly, but if the center doesn’t set, the cookies can still collapse. Investing in an inexpensive oven thermometer can help you verify your oven’s accuracy. Many home ovens run 25-50°F (3-10°C) off their dial setting.
Q: Can using old leavening agents (baking soda/powder) lead to flat cookies?
A: Yes, inactive leavening agents are a major culprit. Baking soda and baking powder lose their potency over time. To test baking soda, mix 1/4 teaspoon with 2 tablespoons of vinegar; it should fizz vigorously. To test baking powder, mix 1/2 teaspoon with 1/4 cup of hot water; it should also fizz. If there’s no fizz, it’s time to replace them. This simple check can save an entire batch of cookies.
Mastering the Art of Puffy Cookies
Baking perfect cookies is a journey, not a destination. I’ve ruined my fair share of batches, but each flat cookie was a lesson learned. The secret, I’ve found, isn’t in some elusive, complicated technique, but in understanding these fundamental principles of how ingredients interact. By paying close attention to butter temperature, avoiding over-creaming, consistently chilling your dough, verifying ingredient ratios, and prepping your baking sheets correctly, you’ll dramatically increase your chances of achieving those coveted, perfectly puffy, and wonderfully chewy cookies every time. Don’t let a few flat batches discourage you. Armed with these insights, you’re ready to transform your cookie game. Go forth, bake confidently, and enjoy the delicious, perfectly plump results!
Written by Evelyn Reed
Mindfulness & Personal Well-being
A former editor for a prominent lifestyle magazine, Evelyn brings a keen eye for compelling narratives and practical advice to our team.
You Might Also Like

A Beginner's Guide to Adjusting Home Network DNS Settings
Unlock faster, more secure internet at home by learning to adjust your DNS settings. This guide simplifies the process for beginners.

Seven Years Without a Clothes Dryer: My Unexpected Revelations on Laundry and Lifestyle
After seven years without a clothes dryer, I share my unexpected lessons on energy savings, garment longevity, and simplifying laundry day.

Six Months Without a Microwave: My Unexpected Kitchen Shift
Discover my journey without a microwave and how it unexpectedly transformed my cooking habits, food quality, and kitchen efficiency.